


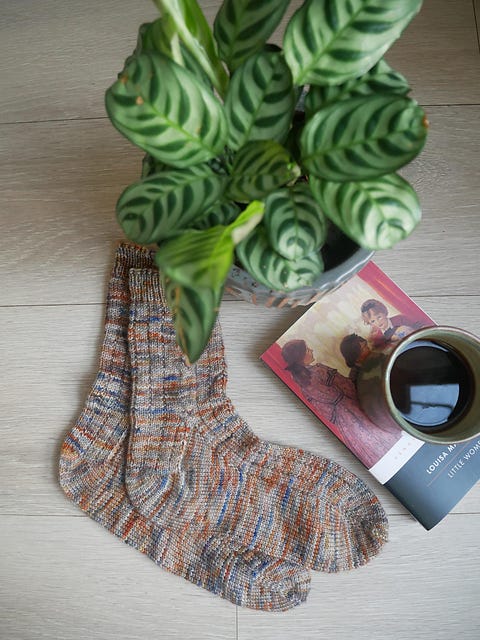
I self-drafted a pair of socks! It was lots of fun, slightly frustrating, and very rewarding.
In October, while travelling in Tasmania, Australia, I purchased a sock yarn with beautiful earthy tones and pops of bright blue. It was the 4ply sock yarn by Art Viva by Mary Jane, a 75% Australian merino and 25% nylon blend.
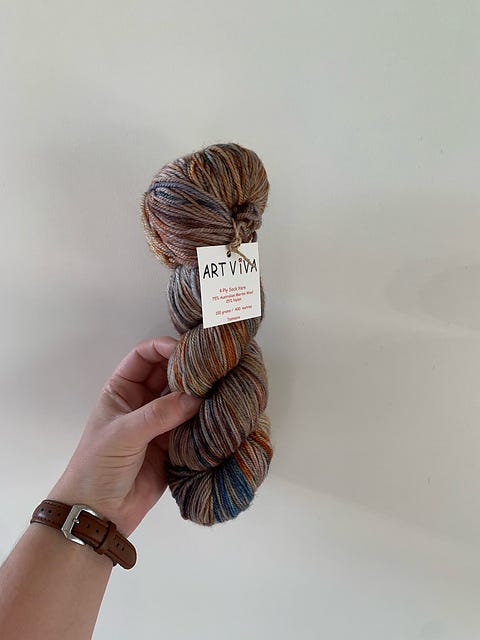
In November, I decided that I wanted to self-draft a sock pattern while I travelled through India. I thought that this yarn and pattern combination would make the ultimate pair of travel socks, giving me memories of two trips.
I want to talk you through my thoughts and steps to show you how I completed my first self-drafted pattern. I hope that for anyone who is yet to self-draft, this gives you the confidence to try!
Step 1. Inspiration
I already had a fairly good idea of what I wanted to make. However, I did have a quick scroll through Pinterest and Ravelry in order to get some inspiration for my project. I wrote down a basic list of the elements that I wanted to include.
Step 2. Basic designs
I then decided to draw up a few options of each element that I wanted to include. I did this to ensure that I already had options if I needed to change anything on the fly. I enjoyed this process a lot and I also know that I can return to these ideas when I make other socks in the future.
Step 3. Writing a pattern
Before I cast on, I wrote up a basic pattern so that I had something to follow. I used a basic toe-up, hell-flap and gusset sock recipe. Any parts where I hadn’t yet figured out the exact elements, I left blank and made notes so that I could better figure it out when I got there.
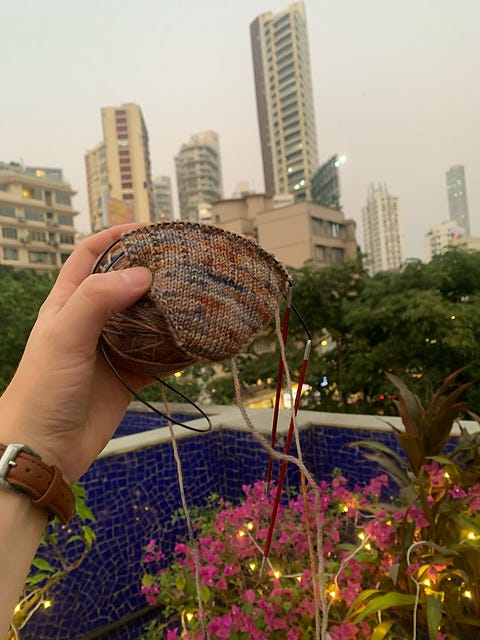
Step 4. The fun part!
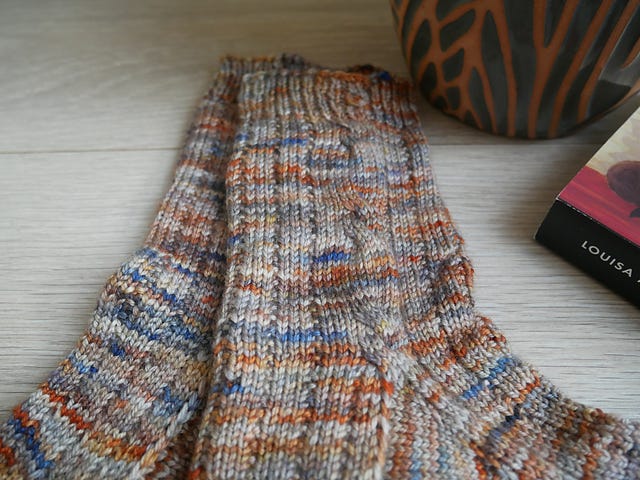
After all of that preparation, I felt very confident to finally cast-on. The foot of the sock wasn’t anything special, it was just a very basic 3x1 broken rib pattern.
For the heel flap, I considered doing an eye of partridge heel but I decided to just knit in the broken ribbed pattern. I thought that the eye of partridge might make that area of the design too busy when I wanted the focus to be on the cables.
Step 5. The cables
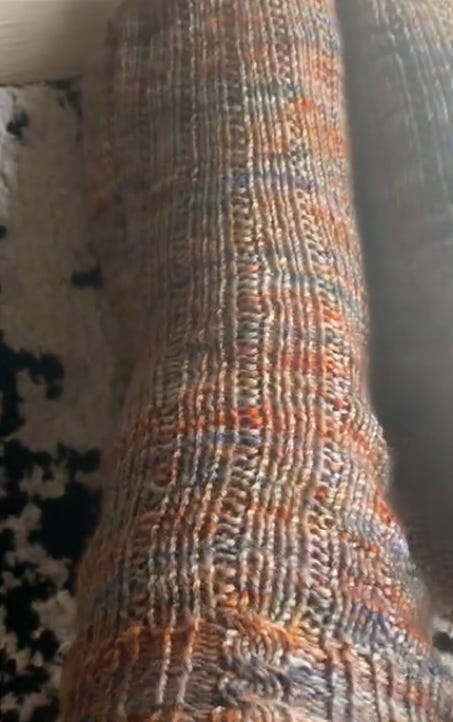
Right from the very beginning, I knew that I wanted to use some sort of cable element. I looked through the Stitch Dictionary and decided on a very basic cable design using 6 stitches. While it didn’t perfectly fit in my stitch count, I thought that I would be able to make it work.
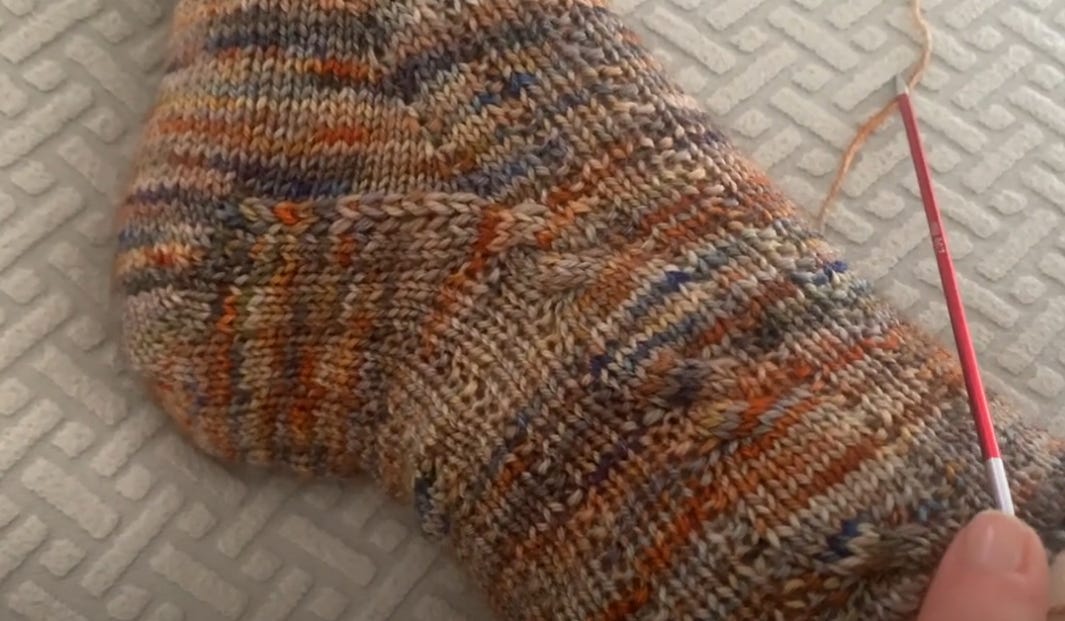
I must say that I slightly regret not having purls on either side of the cables, because I think that would have made the cables pop a bit more. However, I now know that for any future cable projects. I also don’t think that they are quite centered. I think that I need to be comfortable adding one or two extra stitches where needed, because I don’t think it would have made much difference in terms of sizing, but I think it did make a difference in the aesthetic composition.
Step 6. The cuff
I really wanted to cuff to include cable designs. So, I calculated doing four lots of 4 stitch cables around the cuff (two of which led from the cables coming up the leg and the other two in between those). Since I didn’t have an equal number of stitches, I had to do a couple of increases to keep everything even. I liked how it looked and it was a lot of fun to do.
Step 7. The fail
Unfortunately it had all been going far too well up until this point.
It turns out that too many cables on a cuff with only a couple of additional stitches (plus quite a high sock with my large calves), meant that it didn’t fit. It was far far too tight. I didn’t want to keep it because I want the work of the cable to be able to be shown off.
I decided to knit the second sock first before pulling out the first, so that I knew exactly what to fix. This is the benefit of self-drafting socks! You can knit your second one without needing to pull out the first, so you can see all of your mistakes and learn from them in real time.
Step 8. The adjustments
On the second sock, I adjusted the length of the leg by removing one repeat of the cable and decided to just continue the 6 stitch cables up the side and rib the rest. I also added some additional stitches. This worked perfectly and the sock fit very well. I’m a bit sad that I couldn’t get multiple cables on the ribs, but it’s something I’ll experiment with next time with some swatching.
Once I knew I was happy with the design, I pulled back the first sock and did the same thing. (PS. frogging cables is the worst).
I made a vlog of the process, including some fun videos of my travels through India. If you would like to check out the video, have a look here:

What I learnt and what I would do differently.
I need to look into some other patterns to investigate how to truly incorporate cables. I wanted my cables to “pop” a bit more. Like I said, I think adding purls to either side would help, but I also want to see what other designers have done.
What’s next?
I would like to self-draft a bigger garment. I have been playing around with some ideas of a shirt in my head for a while now. As always, I’ll make sure to keep you up to date on any future projects and experiments (even the failed ones).
I truly hope that everyone can self-draft a garment one day. The freedom that I experienced and the problem solving I had to use has made what would just be another pair of knitted socks something really special.
As always, thank you so much for joining me on this little crafty corner of the internet.
Until next time,
Jane
Subscribe to keep up to date on my WIPs and FOs!
Get in touch with me by leaving a comment, sending me a DM, or emailing me at jane.carr.writer@gmail.com.
Want to find me in other places? Check out my knitting YouTube channel here:
And have a look at my Ravelry here:
